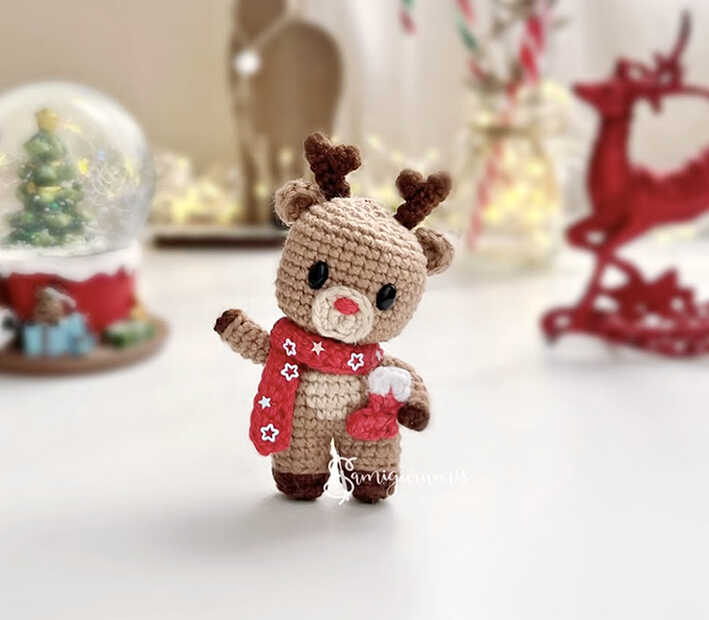
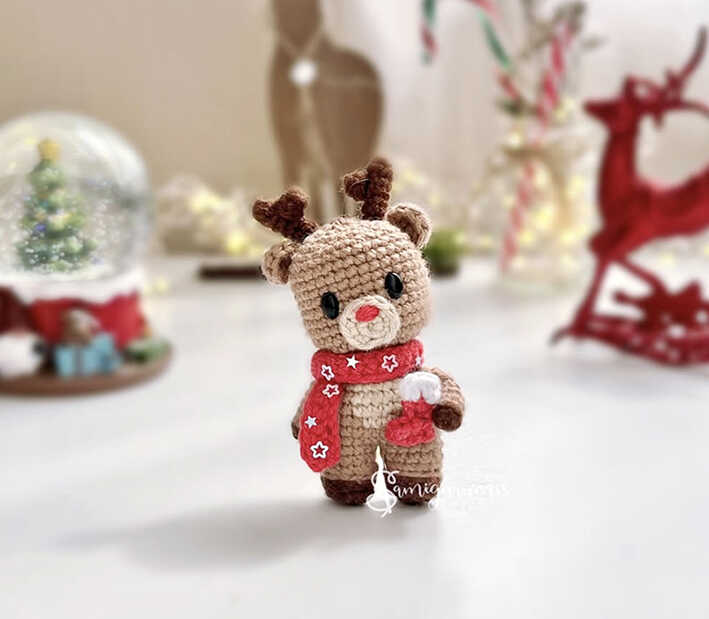
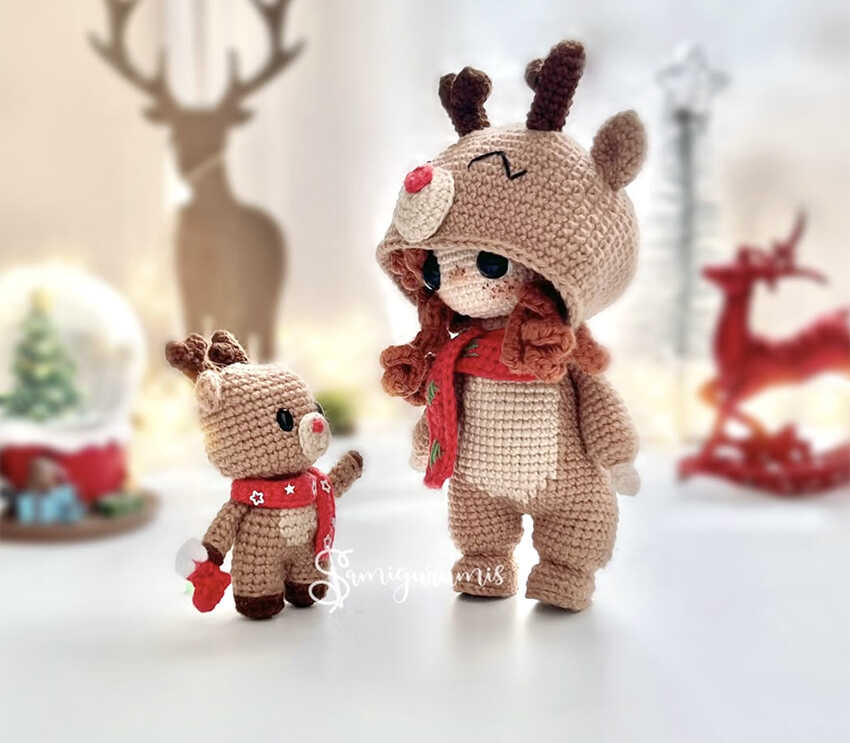
Mini Reindeer Rudy Amigurumi Free Pattern
Designer: SAMIgurumis – Lilian
Instagram: @samigurumis.pe
Etsy Shop: Samigurumispe
Difficulty Level: Intermediate
Let’s hook a little holiday cheer together…
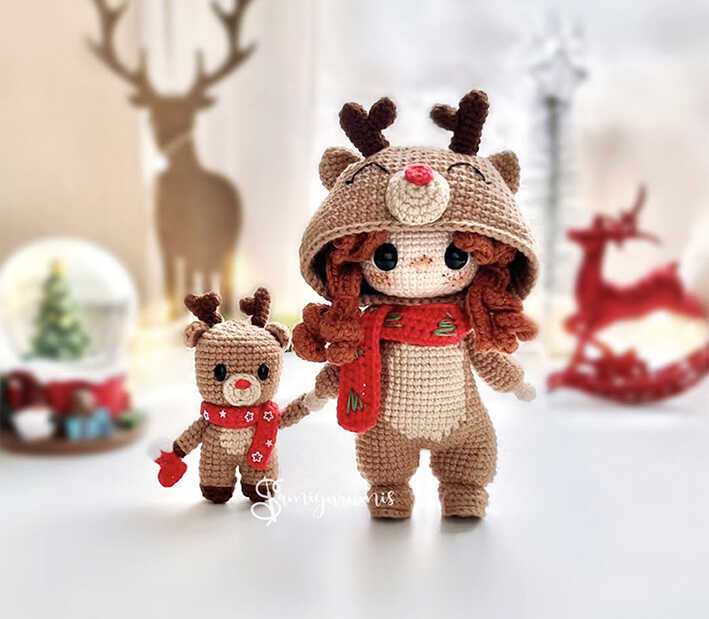
Rudy the Reindeer Amigurumi brings festive joy to your yarn hooks, perfect for DIY Crochet Gift Ideas, Easy Crochet Projects, and even fans of Low Sew or No Sew Amigurumi Patterns, making it ideal for seasonal décor or heartfelt gifts. This delightful reindeer also includes wonderful amigurumi reindeer ideas at the end of the pattern to spark your creativity. Designed as an intermediate amigurumi pattern, warm thanks to Samigurumis for this charming free design.
Written with step by step, beginner friendly instructions, Rudy is a fun project for crocheters who enjoy a Quick to Make Amigurumi with personality. If you have been wondering how to crochet a holiday amigurumi that feels festive yet stays easy to follow, this how to crochet amigurumi guide is a joyful place to begin.
You’ll use fingering cotton threads in various colors, black embroidery thread, 6×4 mm oval safety eyes, a 1.75 mm crochet hook, stuffing, embroidery and sewing needles, textile glue, flexible wire, and optional star-shaped sequins in a smooth creative flow. While cotton yarn gives crisp stitch definition, this reindeer also becomes a soft, larger plushie when made with velvet threads, and don’t forget to visit the Winter Teddy Bear Amigurumi Free Pattern for more beginner friendly inspiration.
About This Pattern
This section explains what you will create and who this pattern is ideal for.
Materials:
• Fingering cotton threads: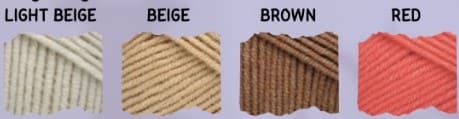
• Black embroidery thread.
• Oval safety eyes 6×4 mm.
• Crochet hook 1.75 mm.
• Stuffing.
• Embroidery and sewing needles.
• Textile glue.
• Flexible wire.
• Star- shaped sequins (optional).
Abbreviations:
MR: magic ring
ch: chain
sc: single crochet
slst: slip stitch
hdc: half double crochet
dc: double crochet
inc: increase
dec: decrease
BLO: back loop only
FLO: front loop only
MINI REINDEER RUDY AMIGURUMI FREE PATTERN
Legs X2
Use brown thread and 1.75 mm crochet hook:
R1: 6 sc MR
R2: 6 inc =12sc
R3: BLO 12 sc
Change to beige:
R4: BLO 12 slst
R5: BLO 12 sc
R6: 12 sc
Cut the thread only from the first leg since we’ll be joining it from the second one.
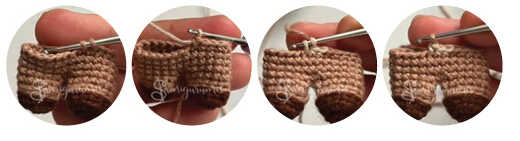
Leg union
To join the legs, we’ll make 1 chain and then 1 sc in the first leg (I did it in the 1st stitch of R6). This will be the first sc of R7.
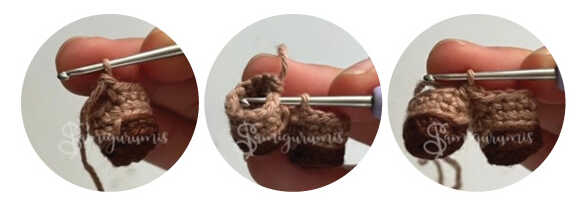
R7: 12 sc in the first leg – 1sc (in the chain) – 12 sc in the second leg – 1 sc (in the chain) =26sc
R8-R9: 26 sc (2 rounds)
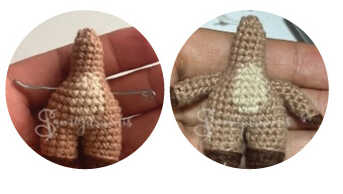
Next we’ll intersperse the beige (B) and light beige (BC) threads.
R10: B 11sc – BC3sc – B 12sc =26sc
R11-R12: B 10sc – BC 5sc – B 11sc = 26sc (2 rounds)
R13: B (5sc-1dec-3sc) – BC 5sc- B (3sc-1dec-6sc) = 24sc
R14: B (2sc-1dec)x2-1sc- BC 1sc-1dec-2sc- B 1dec-(2sc-1sc)x2 = 18sc R15: B (1dec-1sc)x2 – 1sc- BC 2dec – B B 1sc -(1dec-1sc)x2 = 12sc
Stuff.
Continue with beige:
R16-R21: 12sc (6 rounds)
R22: 6dec = 6sc
Close it and hide the excess thread.
Arms x2
Use brown thread and 1.75 crochet hook.
R1: 6sc MR
Change to beige:
R2: BLO 6slst
R3: BLO 6sc
R4 R8: 6sc (6 rounds)
Left a long thread for sewing to the body.
Sew between R13 and R14 (you can place wire to give them mobility).
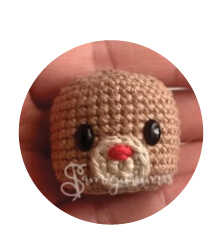
Head
Use beige thread and 1.75 crochet hook
R1: 8sc MR
R2: 8inc = 16sc
R3-R10: 16sc (8 rounds)
Make a chain and turn the piece.
R11: 16inc = 32sc
R12: (7sc-1inc)x4 = 36sc
R13 R21: 36sc (9 rounds)
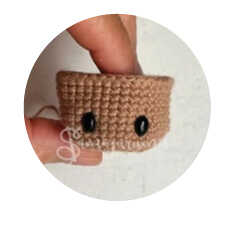
Place the safety eyes between the R15 and R16 with 6sc separation.
R22: (4sc-1dec)x6 = 30sc
R23: (1dec-3sc)x6 = 24sc
R24: (2sc-1dec)x6 = 18sc
R25: (1sc-1dec)x6 = 12sc
R26: 6dec = 6sc
Finish off and hide the excess thread.
Snout
Use light beige thread and 1.75 crochet hook:
R1: 6sc MR
R2: 6inc =12sc
Cut and hide the excess thread.
Glue this piece to the head, between the eyes.
Embroidered the nose with red thread.
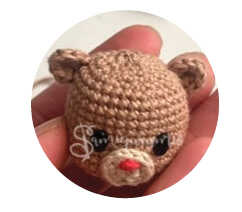
Ears x2
Use beige thread and 1.75 crochet hook;
Make a magic ring of 7dc.
Left a long tail for sewing to the head.
Sew these pieces between R20 and R23.
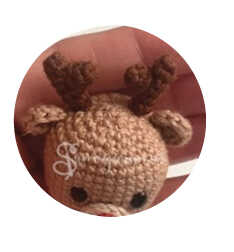
Antlers x2
Big:
Use beige thread and 1.75 crochet hook ;
R1: 5sc MR
R2 R6: 5sc (5 rounds)
Left a long thread for sewing to the body.
Small:
Use beige thread and 1.75 crochet hook ;
R1: 5sc MR
R2: 5sc
Cut and hide the excess thread.
Glue this piece to the side of the piece (big).
Sew the antlers between R24 and R25.
Sock
Use red thread and 1.75 crochet hook;
We’ll work in rows. Make 1 chain and turn the piece at the end of
each row.
R1: ch5, from the 2nd chain from the hook make 4hdc
R2: 2sc (leave two stitches unworked)
R3: 2sc
Change to white:
R4: 2 inc in hdc
Left a long thread to sew onto the little arm.
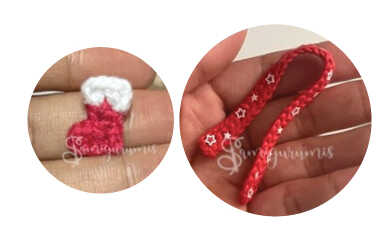
Scarf
Use red thread and 1.75 mm crochet hook;
Make 41 chains and from the 2nd ch from the hook make 2 rows of 40 sc.
Glue the star-shaped sequins onto the scarf.