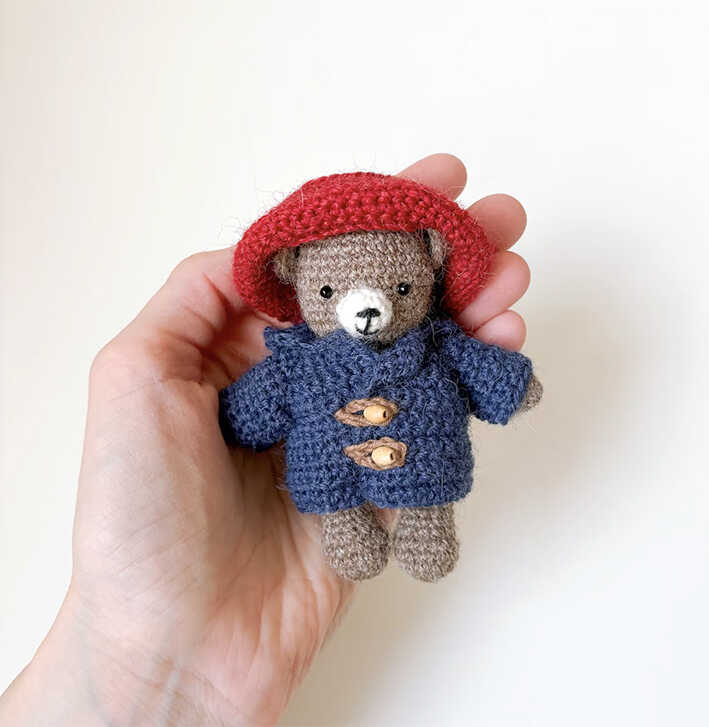
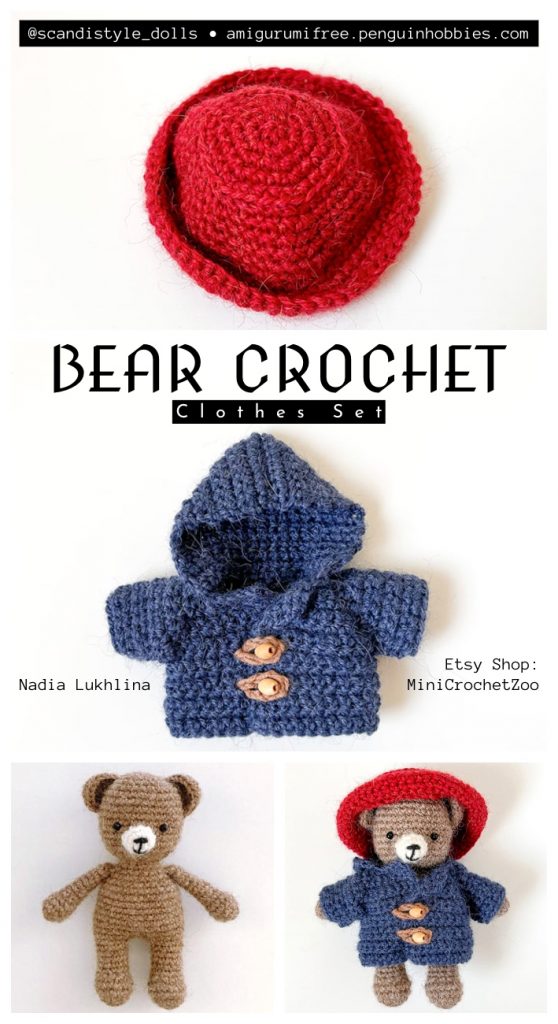
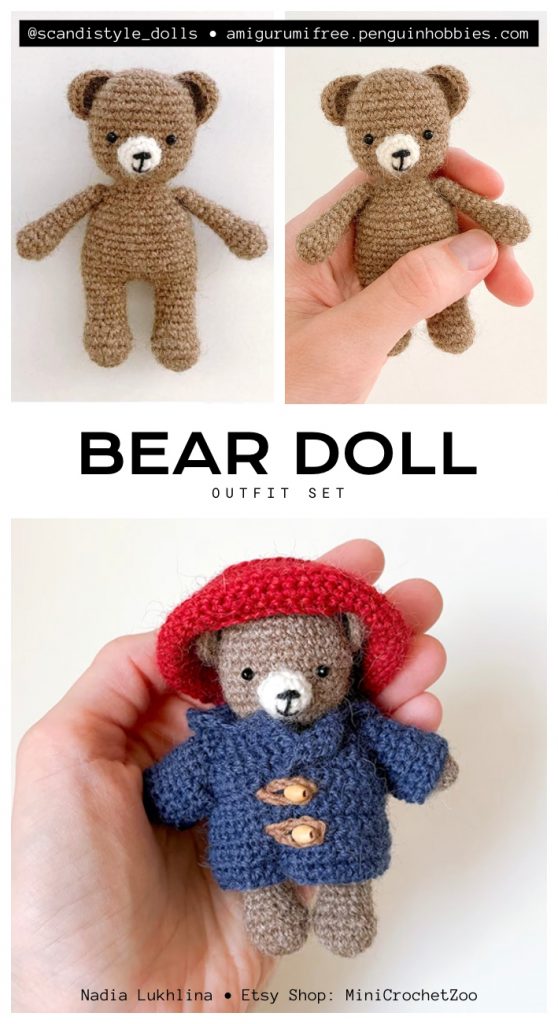
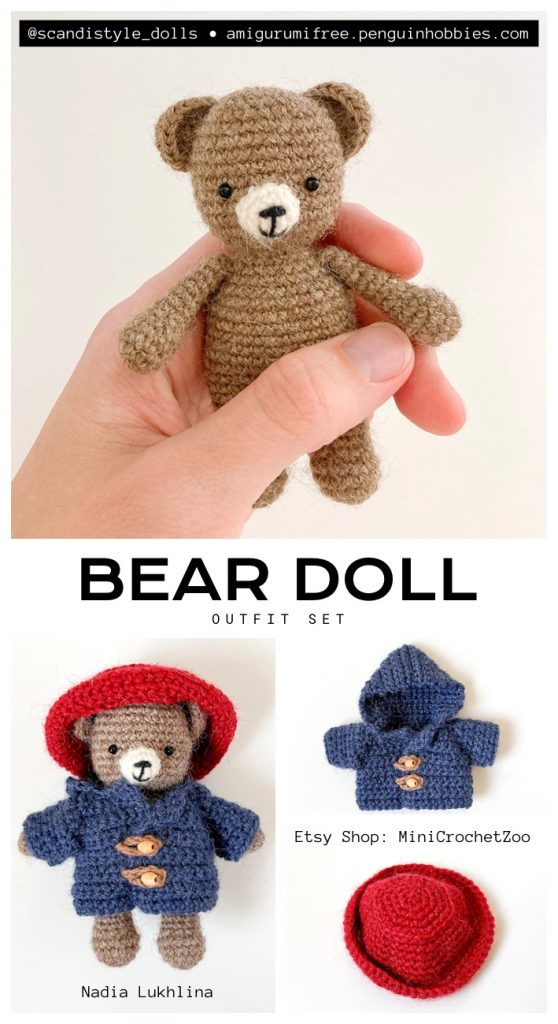
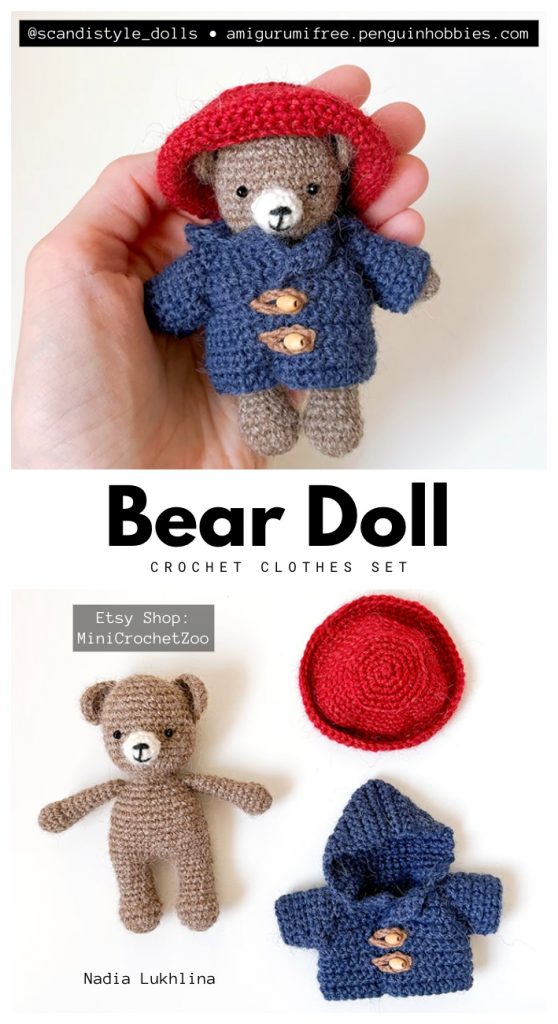
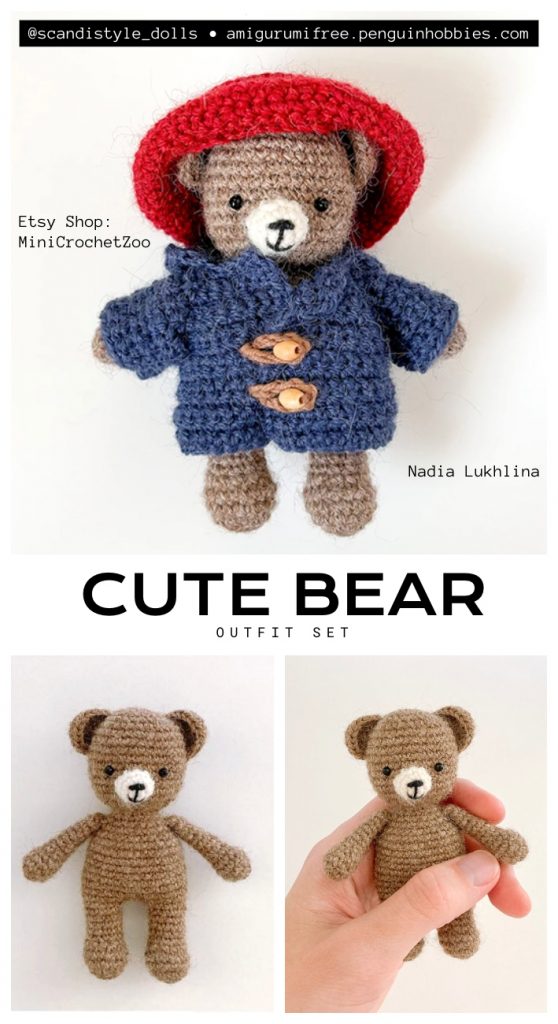
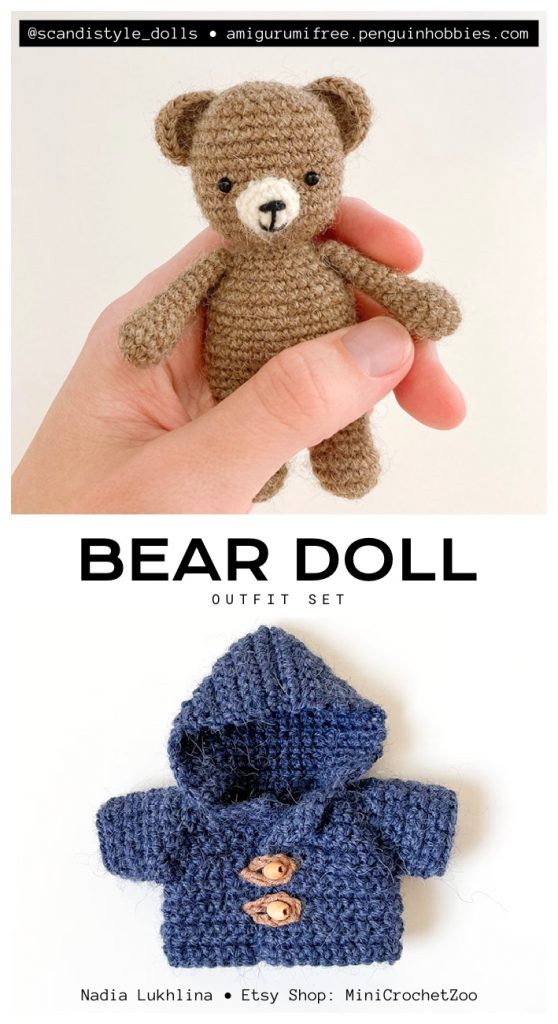
Little Bear Amigurumi Outfit Set Free Pattern
Designer: Nadia Lukhlina
Instagram: @scandistyle_dolls
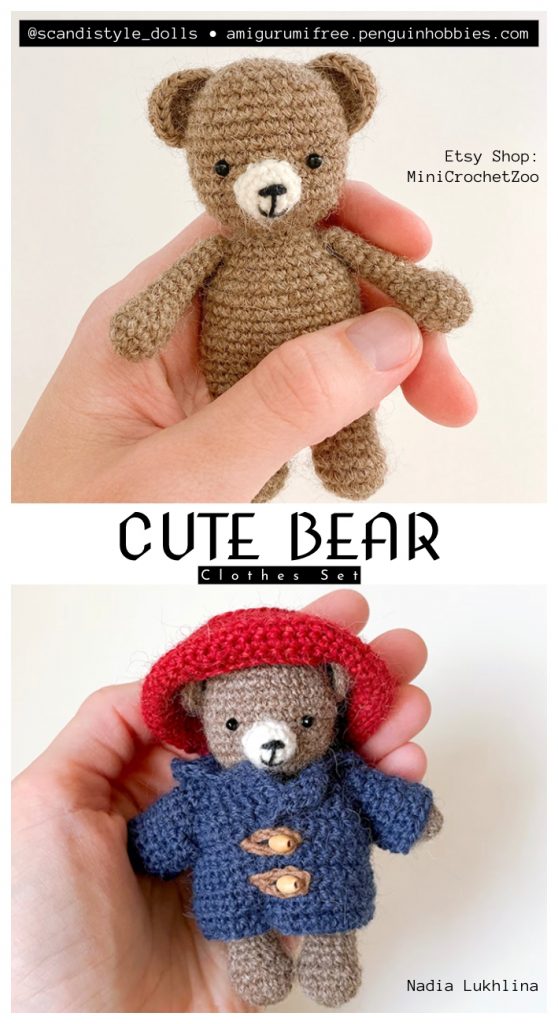
Etsy Shop: MiniCrochetZoo
Difficulty Level: Beginner Friendly
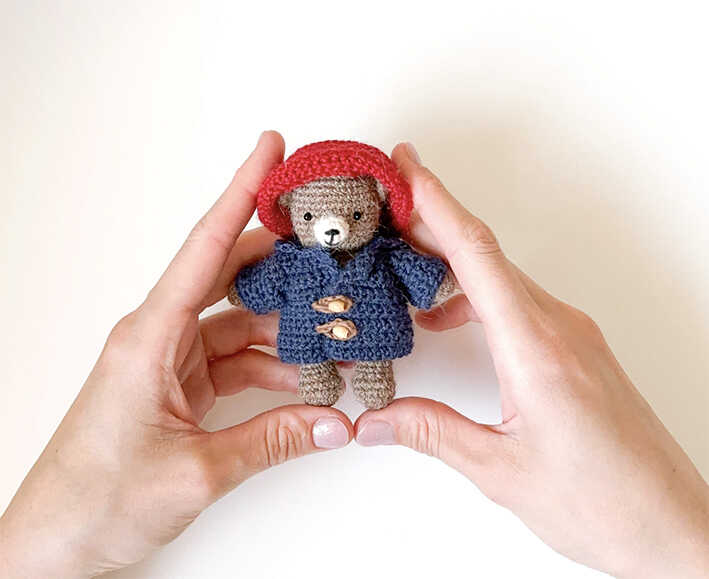
Let’s dress up a tiny teddy with something special…
The Little Bear Doll Outfit is a sweet and cozy design made for DIY Crochet Gift Ideas, Easy Crochet Projects, and even fans of Low Sew or No Sew Amigurumi Patterns, making it perfect for gifting or playtime displays. This charming outfit also comes with wonderful amigurumi bear ideas at the end of the pattern to inspire more looks. A lovely beginner amigurumi outfit pattern with heart, and warm thanks to Nadia Lukhlina for sharing this beautiful design.
Written in a step by step, beginner friendly style, this set suits a beginner to easy-intermediate level and is a truly Quick to Make Amigurumi wardrobe for your 10 cm (3.9”) bear. If you have been wondering how to crochet an amigurumi outfit that looks adorable yet stays simple to follow, this how to crochet amigurumi project is a relaxing place to start, and a printer-friendly, ad-free version is available on Etsy here: Etsy Pattern Link.
You’ll use Drops Flora 08 and Drops Alpaca 607 for the bear, Drops Flora 18 and 10 for the outfit, a small amount of white yarn for the muzzle, 1.5 mm and 2.0 mm hooks, 3 mm safety eyes, fabric glue, two small buttons or beads, polyester fiberfill, black embroidery floss, pins, a sewing needle, and scissors in a smooth creative flow. While cotton blends give crisp stitches, this outfit also works beautifully with velvet yarn for a chunkier, softer plushie look, and don’t forget to visit the Barsik the Cute Amigurumi Cat Crochet Pattern for more beginner friendly inspiration.

Materials
• Drops Flora 08 (bear), Drops Alpaca 607 (bear), small amount of white yarn (muzzle), Drops Flora 18 (outfit), Drops Flora 10 (outfit)
• 1.5 mm crochet hook
• 2.0 mm crochet hook
• 3 mm safety eyes
• Fabric glue
• Two small buttons or beads
• Polyester fiberfill
• Sewing needle
• Scissors
• Pins
• Black embroidery floss
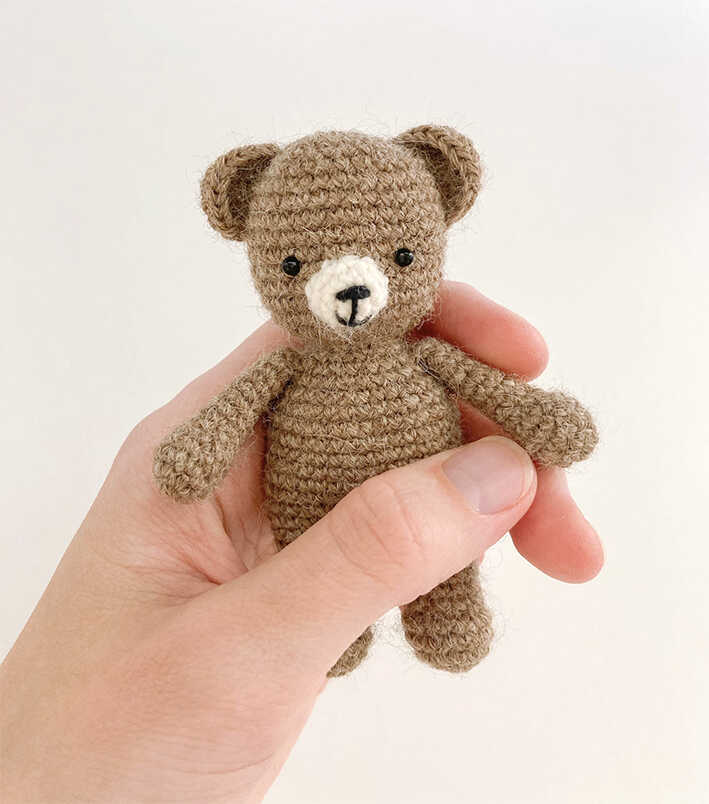
Finished size: about 10 cm (3.9″)
Abbreviations
MR – magic (amigurumi) ring
ch – chain
sc – single crochet
slst – slip stitch
inc – increase
dec – decrease
FLO – work in front loops only
BLO – work in back loops only
(…) x n – repeat the instructions in parentheses n times
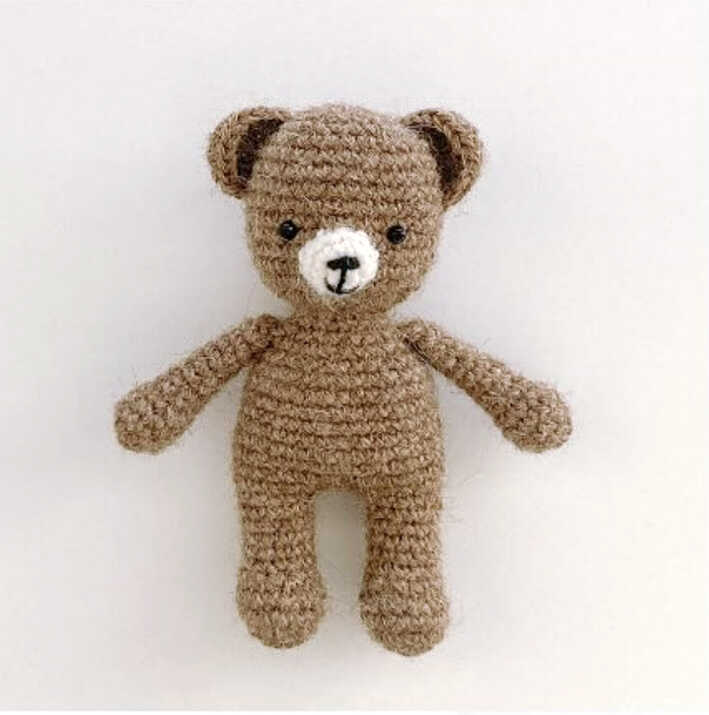
LITTLE BEAR DOLL OUTFIT CROCHET
Legs (brown)
R1: 6 sc in MR (6)
R2: 6 inc (12)
R3: (1 sc, inc) x 6 (18)
R4–R5: 18 sc (2 rounds)
R6: 6 dec, 6 sc (12)
R7–R11: 12 sc (5 rounds), stuff
Cut yarn on the first leg.
Make the second leg the same way, do not cut yarn.
From the second leg, make 3 ch.
R12: 12 sc on first leg, 3 sc along chain, 12 sc on second leg, 1 inc, 1 sc, 1 inc (32)
Head
R27: 12 inc (24)
R28: (1 sc, inc) x 12 (36)
R29–R37: 36 sc (9 rounds)
R38: (4 sc, dec) x 6 (30)
R39: (3 sc, dec) x 6 (24)
R40: (2 sc, dec) x 6 (18)
R41: (1 sc, dec) x 6 (12), stuff
R42: 6 dec
Cut yarn, close the opening by threading a needle through the front loops of the remaining stitches, tighten, secure and weave in ends.
Arms (make 2, brown)
R1: 6 sc in MR
R2: 6 inc (12)
R3–R5: 12 sc (3 rounds)
R6: 3 dec, 6 sc (9)
R7–R13: 9 sc (7 rounds)
Stuff the lower part of the arm.
Cut yarn leaving a tail for sewing.
Fold the edges together and sew closed.
Ears (make 2, brown, turning rows)
R1: 6 sc in MR, ch, turn
R2: (1 sc, inc) x 3 (9), ch, turn
R3: 9 sc
Cut yarn, leave a tail for sewing.
Muzzle (white)
R1: 6 sc in MR
R2: 2 inc, 1 sc, 2 inc, 1 sc (10)
R3: 10 sc, slst
Cut yarn, leave a tail for sewing.
Assembly
Sew ears to the sides of the head between rounds 4 and 9.
Embroider the nose and mouth on the muzzle, add a vertical line between them, then sew the muzzle between rounds 12 and 15 while stuffing.
Glue the eyes between rounds 11 and 12, about 7 sc apart.
Sew the arms one round below the neck.
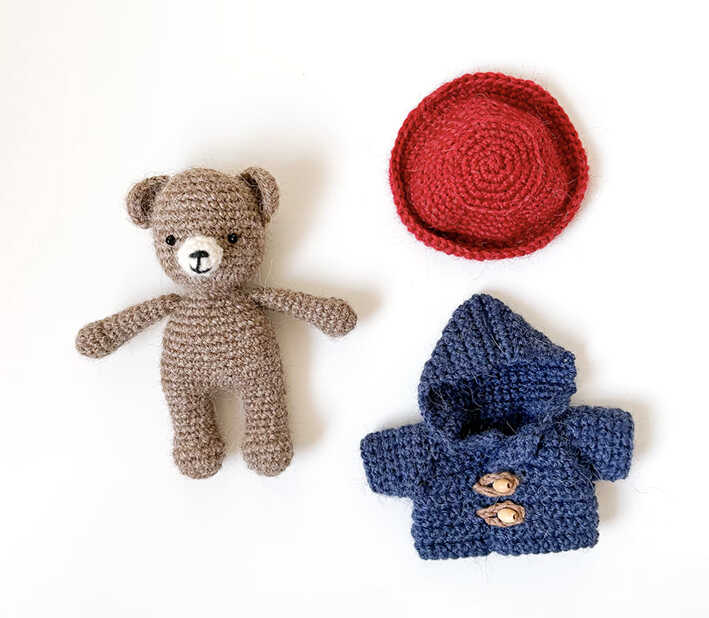
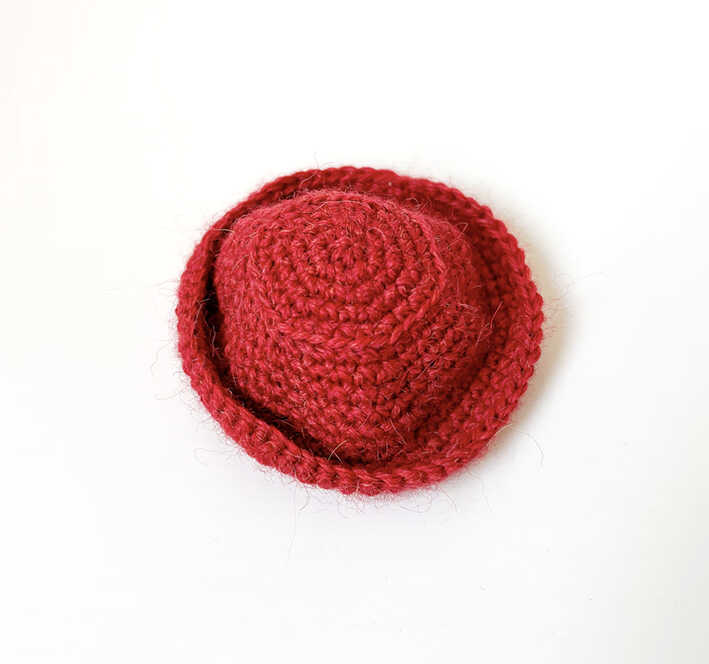
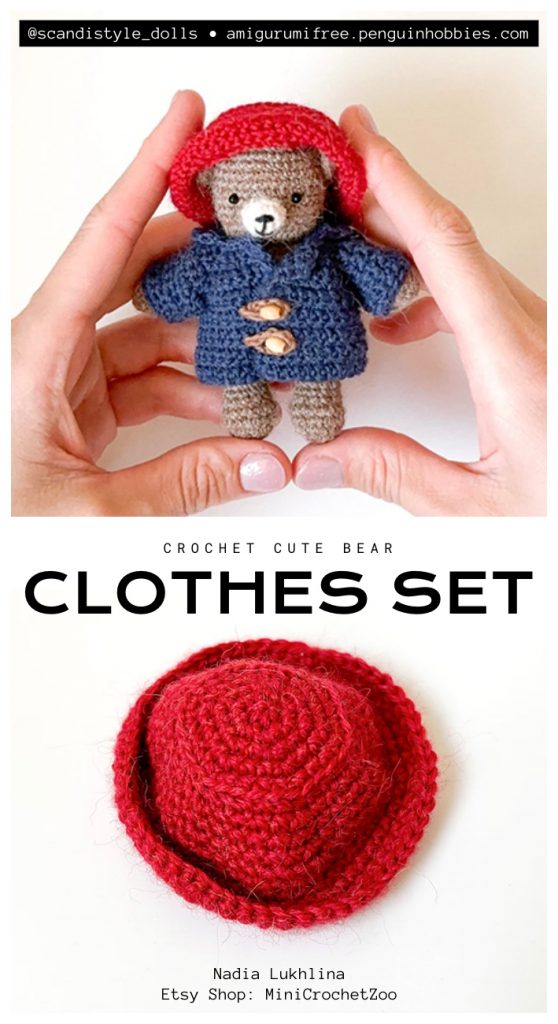
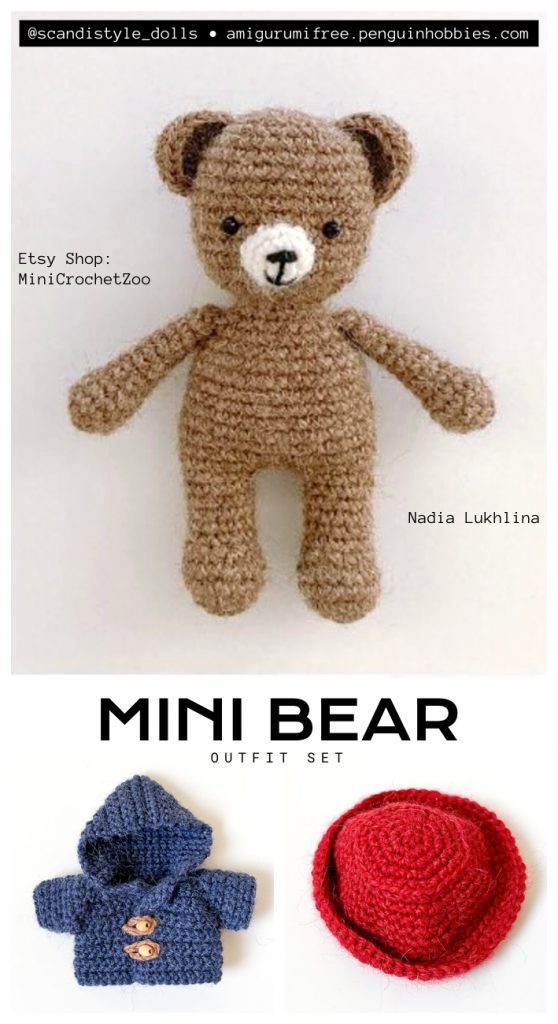
Paddington Outfit
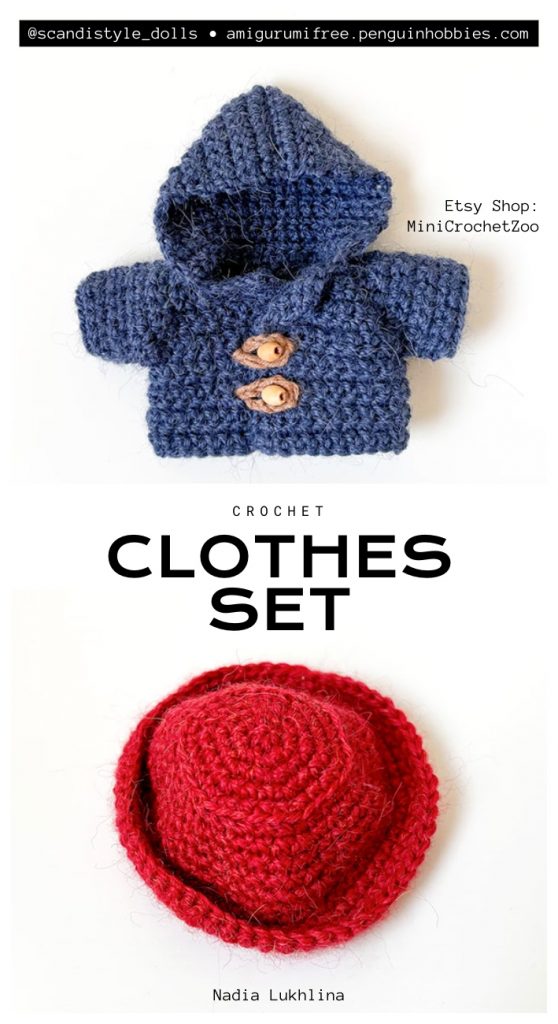
Hat
R1: 6 sc in MR
R2: 6 inc (12)
R3: (1 sc, inc) x 6 (18)
R4: (2 sc, inc) x 6 (24)
R5: (3 sc, inc) x 6 (30)
R6: BLO 30 sc
R7: (4 sc, inc) x 6 (36)
R8: 36 sc
R9: (5 sc, inc) x 6 (42)
R10: (6 sc, inc) x 6 (48)
R11: 48 sc
R12: FLO 48 sc
R13: (7 sc, inc) x 6 (54)
R14: 54 sc
R15: (8 sc, inc) x 6 (60), slst, fasten off
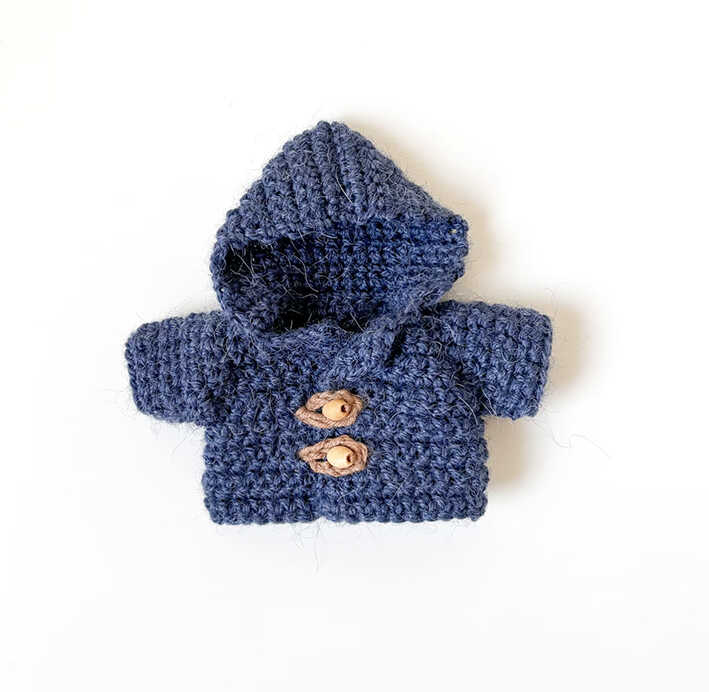
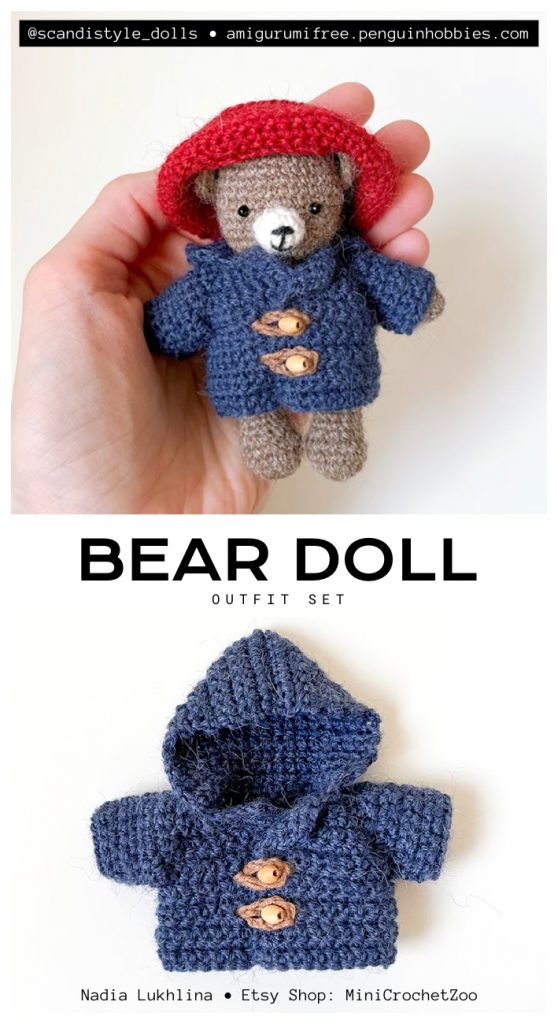
Jacket
Make 27 ch.
From second stitch from hook: 26 sc.
Divide into front, raglan, sleeve, raglan, back, raglan, sleeve, raglan, front.
5 sc, R, 3 sc, R, 6 sc, R, 3 sc, R, 5 sc
Continue following raglan increases as given in the pattern until row 6.
Separate sleeves, work 15 sc for each sleeve for 4 rows, fold and join.
Continue body: 10 sc, inc, 16 sc, inc, 10 sc.
Work 6 more rows of 40 sc.
Fasten off.
Hood
Attach yarn to jacket neckline.
Work 18 sc for 16 rows.
Fold and join the top edge with slst.
Fasten off.
Clasp
Make two loops of 9 ch on one front side of the jacket.
Sew two buttons on the opposite side.
Copyright & Credits
Design by the original pattern creator.
This pattern is shared for inspiration and reference purposes only.
You may share photos of your finished Little Bear Outfit Set, but please credit the designer.
Save for later:

2 Replies to “Little Bear Amigurumi Outfit Set Free Pattern”
Comments are closed.